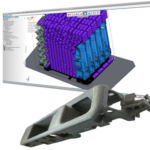
A promising technique is gaining traction in the world of efficient additive manufacturing — Stack 3D printing.
This method, hailed by both manufacturers and hobbyists, enables the simultaneous creation of multiple objects, significantly enhancing production efficiency by reducing trips to the printer to remove stuff from the print bed. To harness its full potential, understanding the nuances of stack printing and applying optimal print settings are imperative.
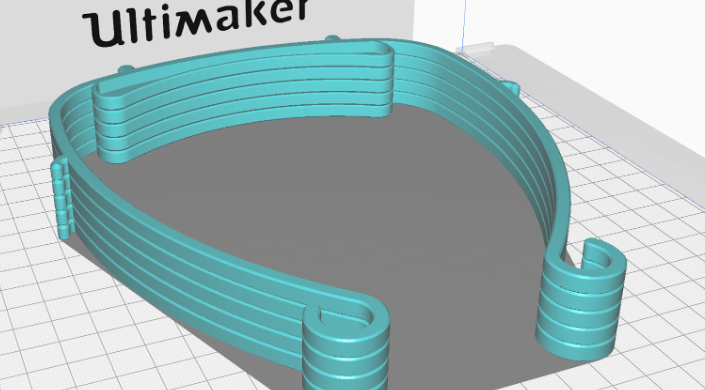
How to Stack?
Configuring your 3D printer for stack printing demands attention to detail. Utilizing three wall perimeters and a 15% infill ensures structural integrity. Employing the ironing technique with a heated nozzle guarantees a polished top surface, elevating the professional appearance of your prints.
Critical to stack 3D printing success is easy layer separation post-printing. Maintaining a 0.2 mm gap between models facilitates this process, eliminating the need for supports and enhancing the final product’s quality.
Despite meticulous setup, challenges may arise, requiring a gentle prying technique for stubborn layers. Aesthetic considerations are crucial; while the ironing technique smoothens one side, the other may showcase a distinctive pattern inherent to stack printing.
Precise preparation of printing files is paramount. Designing files with the 0.2 mm layer gap in mind and optimizing for 0.2 mm layer height ensures accurate replication, enabling seamless layer separation. You can learn more about it in the video below.
Stack 3D printing unveils a powerful approach to multi-object production. Adhering to recommended settings, ensuring layer separation, and precise file preparation unlock its potential.
Source: geeky-gadgets.com
Come and let us know your thoughts on our Facebook, X, and LinkedIn pages, and don’t forget to sign up for our weekly additive manufacturing newsletter to get all the latest stories delivered right to your inbox.


