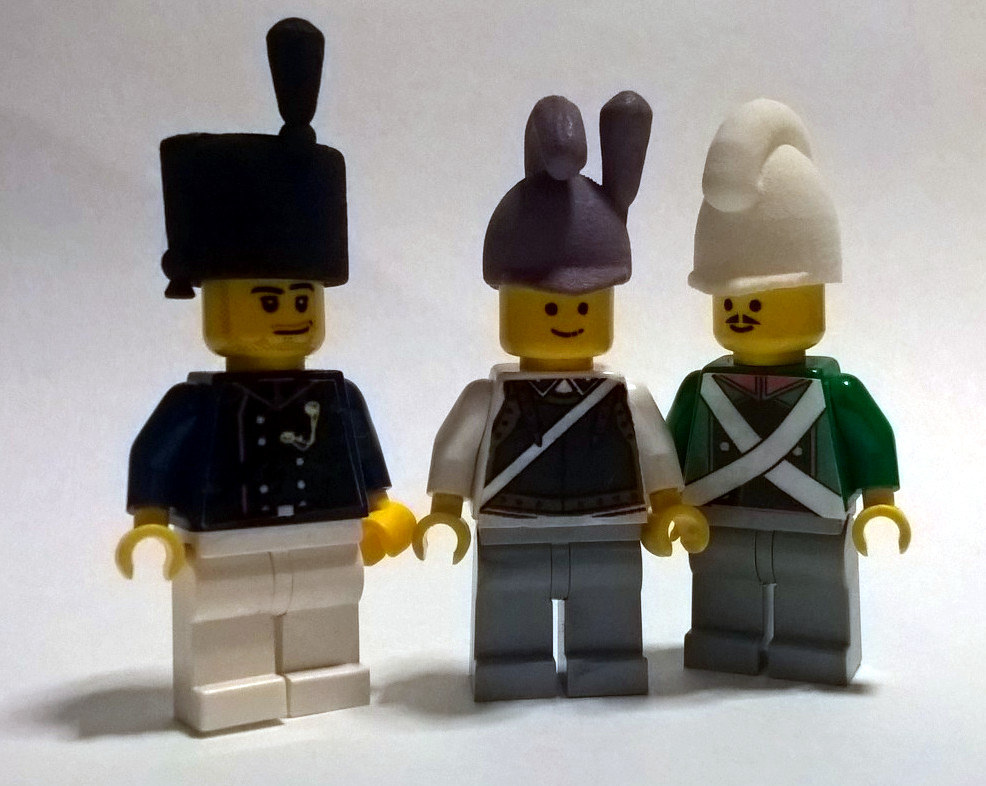
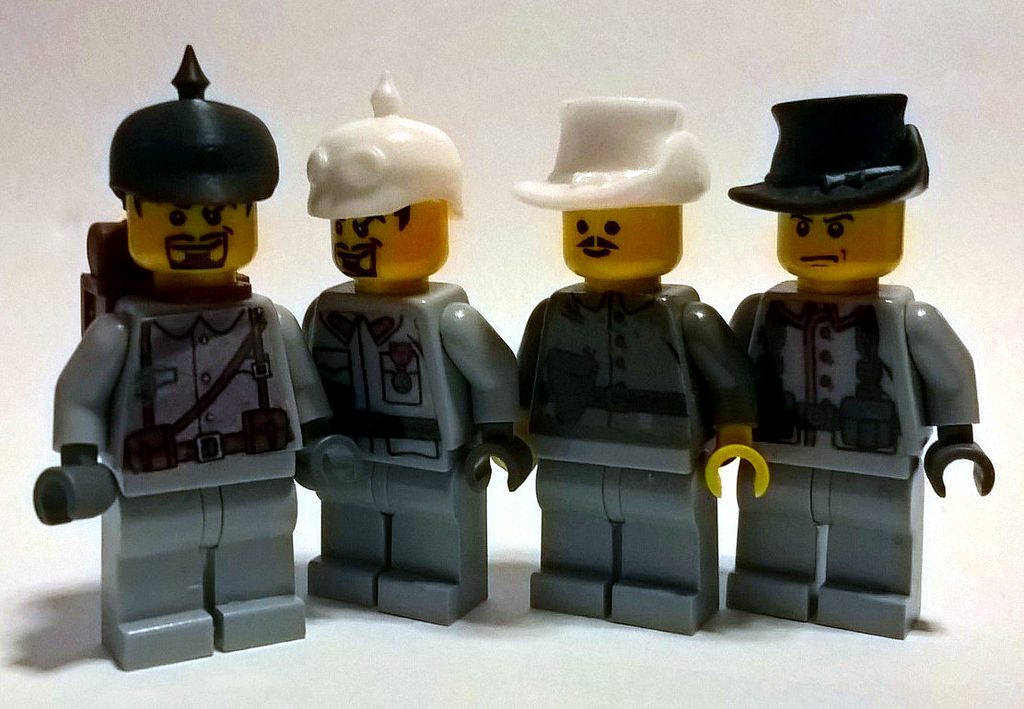
Eight years ago I started my journey in 3D printing with the first custom Lego part made by a 3D printer. The starting point of this trial was a combination of a discussion in a Lego forum about a rare part and my interest in the Napoleonic times.
The target I set for this project was bringing parts to market at a price range of below 2 EUR per piece, using colors & different materials and creating over 100 new models of historical hats (compatible with Lego Minifigures).
To reach that goal I had to solve several development challenges. I started with a free Linux 3D program (K3d) and switched to Blender later on. Blender allows additional support, like creating bearers. This is now a self developed add-on in Blender. Some conversion scripts resulted in an expansion of the lviewer code where I’ve added an STL exporter, now available in the public. My 3D models are now also importable in the Lego render POV-ray creating great quality images of Minifigures wearing the new items.
Even the standard workflow for the development of a new item is straight forward. It usually starts with an idea, which I can get from a blog, television or a follower request. The design is made using my Linux workplace (as shown in the picture above) and ends in a zipped STL file. This file is then uploaded to a 3D printing service.
But it always came down to a crucial point in production. Because of the limitations in materials I could use (to ensure low pricing), the models show a grainy surface. This would be fine for me as a 3D enthousiast but obviously would not be accepted by a Lego fan.
The above picture shows the results. Here you can clearly see there is a great improvement in look and surface.
Also the price range is coming nearby the target price. With my method of connecting items via bearer you can reach a price range between EUR 2 and EUR 3.
This is a very promising result and I’m looking forward to offer these materials to the public.


