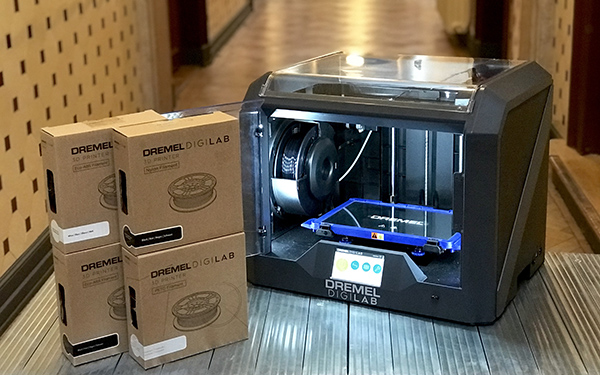
Dremel launched their first 3D printer back in 2015. About a year ago they’ve launched their latest model, the DigiLab 3D45. It was launched as a versatile, high performance 3D printer and is aimed at the prosumer / professional user.
3D45 Overview
- Semi-automatic (assisted) bed leveling
- Automatic filament detection
- Built-in HD camera for remote monitoring
- Cloud print management (in collaboration with 3DPrinterOS)
- Dremel DigiLab Slicer (Dremel’s version of Cura)
- Closed print chamber, high bed and extruder temperature enables you to print specialty filament like nylon
- Open filament system: can print 3rd party filaments
| Reliability | |
| User friendliness | |
| Print quality | |
| Print consistency | |
| Range of materials | |
| Support / helpdesk | |
| Slicer software | |
| Availability replacement parts |
Unboxing & setup
The 3D45 is delivered in a not-too-large cardboard box which is packaged really well. Thick foam and cardboard keep the content in its place. The quick start guide helps you set-up and start your first print within minutes.
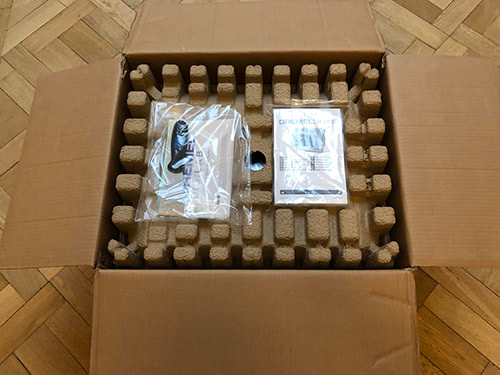
What’s in the box
- SanDisk 16GB USB Flash Drive
- Nozzle unclog device
- 2x Glue stick for better print bed adhesion
- 2x filament spool
- User manual
- Quick start guide
- Power cable
- USB cable
- Object removal scraper
- DigiLab 3D45 3D Printer
About Dremel DigiLab 3D45
As mentioned before, the 3D45 is aimed at the prosumer / professional market. Its ability to print specialty filament, the closed print chamber and versatile software is what makes this machine perfect for schools, maker spaces and print farms.
Hardware
First off – it’s a very solid, well-built 3D printer. It has a closed print chamber but the top lid and front door make it very accessible. The bed is a heated, removable bed with a glass surface. The filament spool is located inside the print chamber and can be accessed via a side panel. Worth mentioning is that the bed leveling sensor is hidden and only ‘slides out’ prior to starting a print or the assisted bed leveling procedure. I like this because it decreases the chance of messing up the sensor in case a failed print starts shifting.
The built-in carbon filter filters out potential harmful VOC’s which a great feature when you use it in a classroom or office. Also: there are ports for: USB cable, USB Flash Drive and ethernet on the device.
I don’t really like the touch screen though. It’s not as responsive as I’m used to. I started using a ballpoint pen (without the tip) as a stylus, which works great.
User Interface
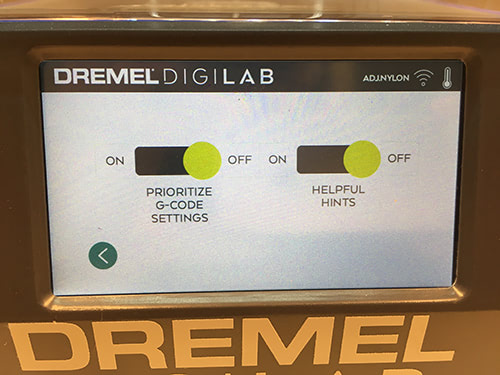
The UI consists of clear icons and a well-thought-out layout. You’ll find settings to load / unload filament, change temperatures for the extruder and bed, change print speed and alter fan cooling settings. I was a bit confused at first because the slicer settings for the extruder and bed temperature weren’t followed by the machine, but when you research the settings you’ll find a switch that lets you decide whether the slicer, or the device settings are leading.
I like the preheat functionality. When you’re printing with high temperatures, it will take a while before the device is ready to print (approx. 8 minutes for nylon with the settings of my test). This makes the preheat feature indispensable.
Print Preparation
Dremel’s 3D Slicer software is basically Cura with built-in recommended settings for the 3D45. I really like this, although I don’t think you have access to all Cura settings. The 3D45 doesn’t prime before it starts printing, so I turned on the priming tower setting but without avail.
Control, connectivity and monitoring
Monitoring your prints is very easy with the 3D45. The built-in HD camera (720p) lets you watch your print real-time but also lets you create sharable time lapse videos of your prints. You have the option to remotely pause and stop prints when anything goes wrong.
It is possible to connect multiple Dremels to the cloud over Wi-Fi or ethernet. The cloud management software (developed by 3DPrinterOS) gives you insight in the current print status, temperatures and the amount of filament that’s left on the spool. This makes it ideal for offices, maker spaces and universities.
The cloud management software also gives you the ability to fix your 3D models in case you suspect any errors to be present. It also has the ability to scale, move, rotate your files and eventually slice them directly from the cloud.
Solving problems
Dremel DigiLab offers three support channels that you can use as a customer of their products. They have a telephone help desk that you can reach Monday to Friday from 8am to 5pm (central time). They also have an email service and a Live Chat option available on their website. You can also register online to receive more support benefits. All-in-all it looks like this company puts in extra effort to help their customers with quality service.
Nylon test
Nylon is strong, resilient and a little bit flexible, which makes it perfect for functional applications. The Dremel 3D45 is marketed as being suitable for printing nylon and so I thought of a few use cases; a living hinge and nylon connectors.
I don’t print nylon just for fun. I only use it when I have a certain application or the object requires specific properties. The reason is that nylon is difficult to print. It is sensitive to moisture, tends to warp and needs a steady print chamber temperature.
Additionally, nylon becomes easier to print when you increase the layer height. The sweet spot often lies between 200 – 300 Microns. So you probably don’t want to print aesthetically pleasing objects with nylon. The complexity of the object is also something to keep in mind. When you need a lot of support it can be really difficult to remove later on.
Before you start testing with nylon on the 3D45, please make sure:
1) to print with Dremels own brand nylon (you can use 3rd party filament but it’s easiest to start with their own brand)
2) test with a freshly opened spool (takes away the ‘failed due moisture’ element)
3) your 3D model doesn’t have any errors
Regarding point 2: in case there’s too much moisture in the filament, put it in an oven for two hours (140 °F / 60 °C).
Point 3 sounds logical, but it can happen that you blame the filament or printer for a bad print result but that the actual reason is an error in your 3D model.
I have deviated a bit from Dremel’s default nylon settings and used the following print settings:
- extruder temperature: 518 °F / 270 °C
- bed temperature: 212 °F / 100 °C
- speed: Approx. 50 mm/s
- fan: 10%
- infill: 80% (I prefer to use between 40% – 80% for functional parts)
- layer height: 300 Microns
- adhesion: Brim (12 lines) plus Dimafix spray
First thing I printed was this parametric living hinge by gharley.
You can twist it, bend it in every direction but it’s impossible to break.
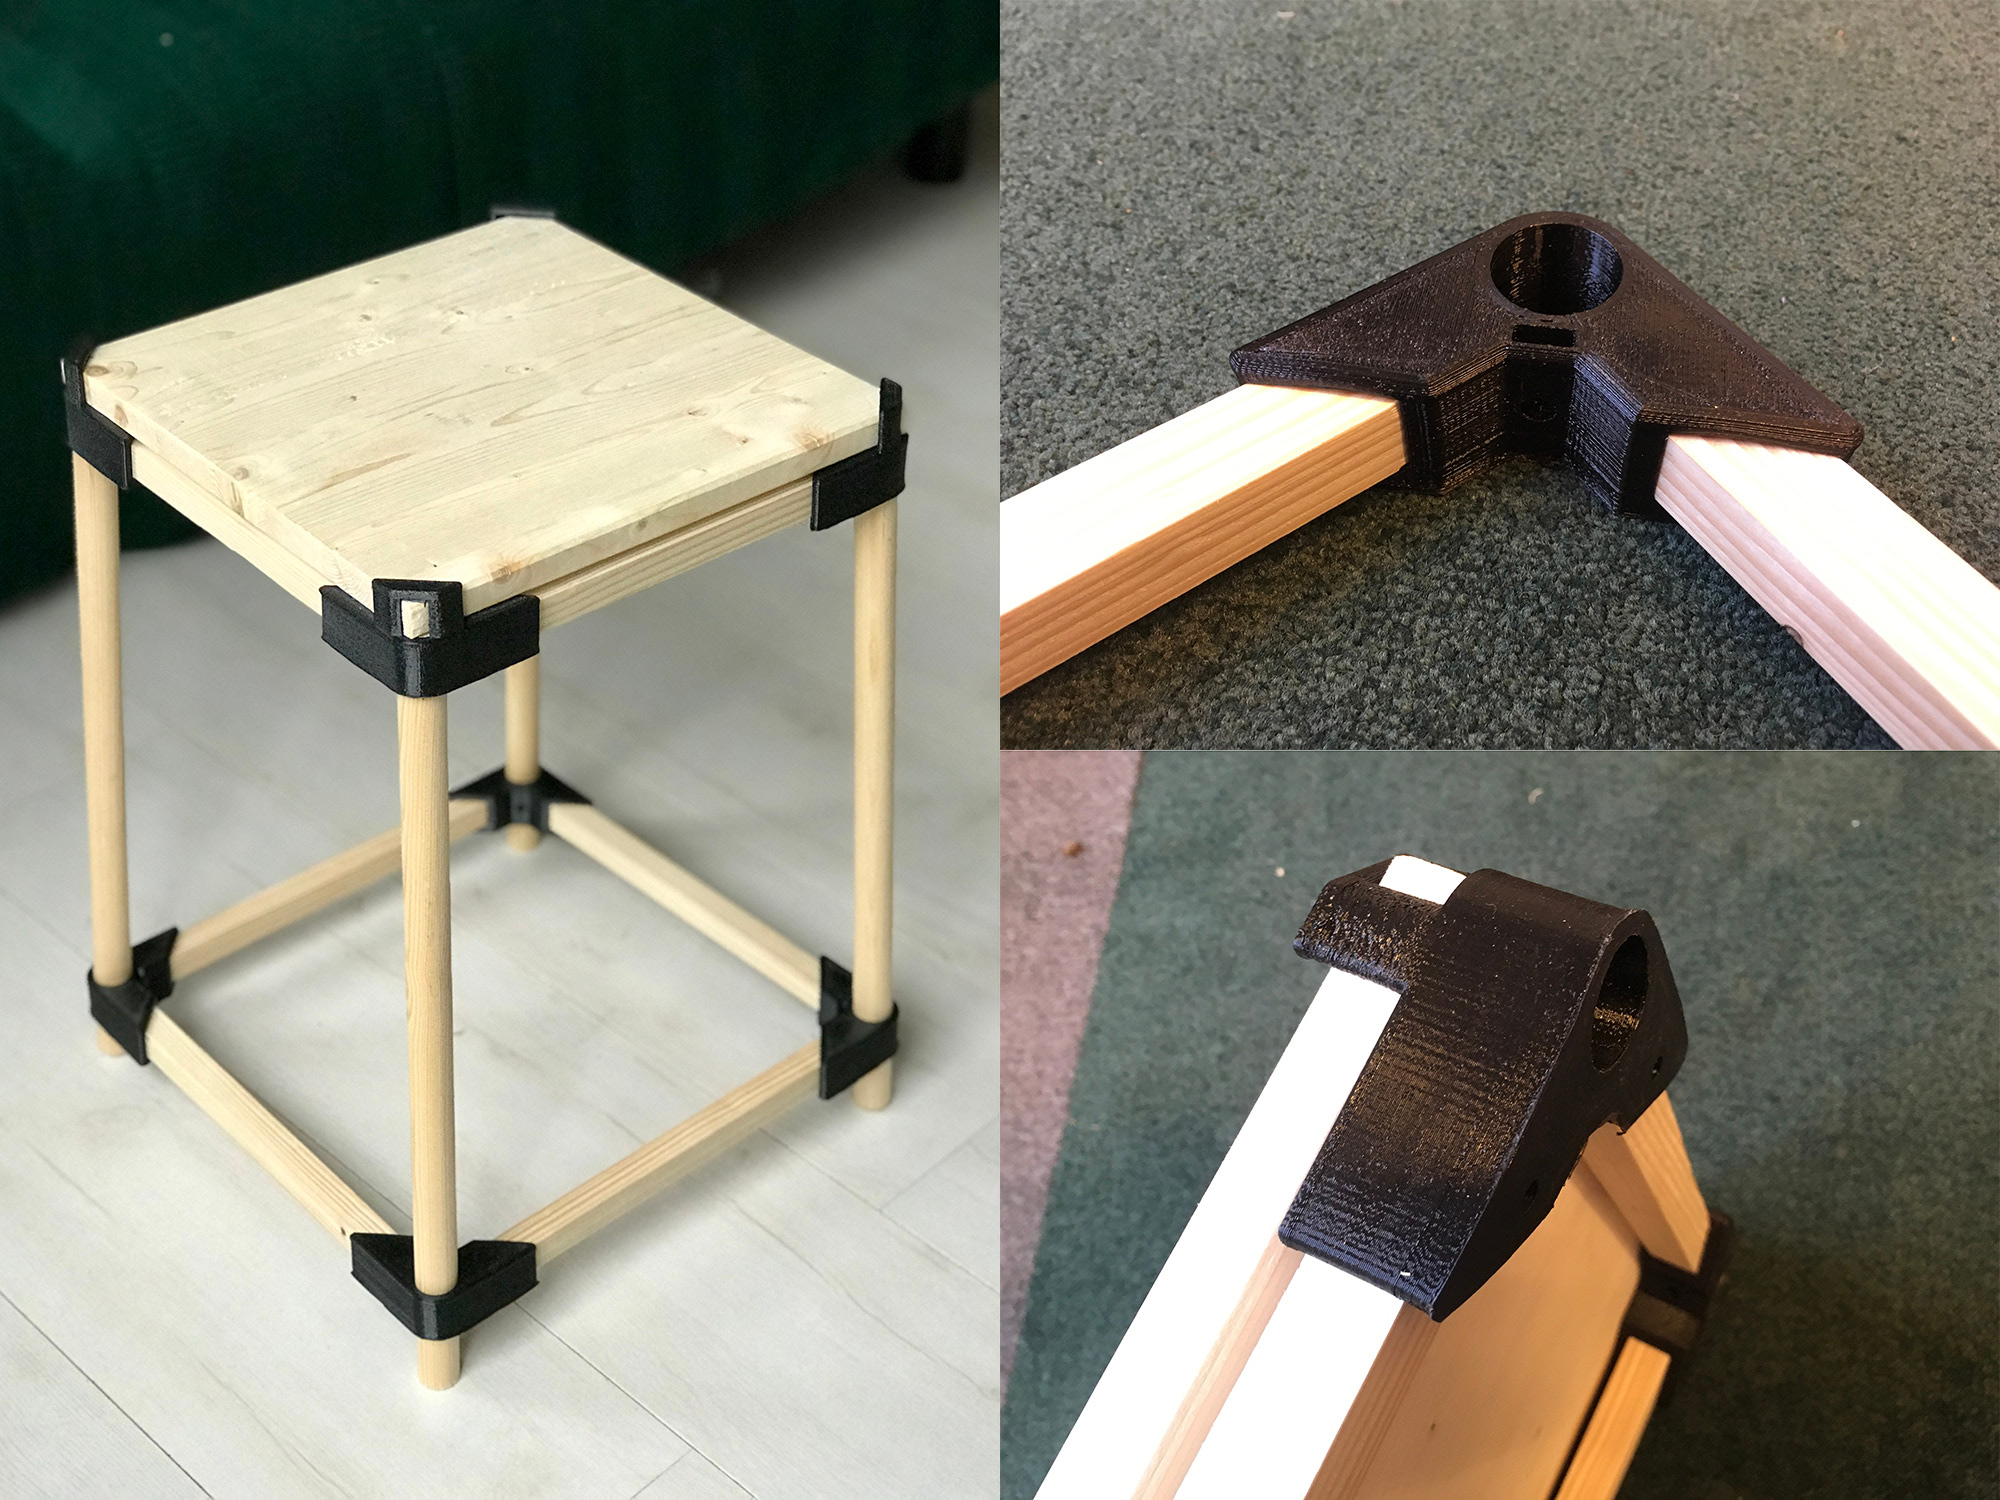
Connectors for furniture
The properties of 3D printed nylon are perfect for connectors. The strength and flexibility of nylon are what you are looking for when you create objects that need to hold some weight.
Two years ago we covered a Kickstarter about a startup called Standard Products. Unfortunately the company doesn’t exist anymore cause we really liked their idea. It basically was an online generator to generate furniture. The output was a bunch of connectors you could either print at home or let Standard Products print them for you. The wooden parts all have standard measurements of products everyone can buy in a store nearby. Back then we downloaded a few connectors but we never succeeded in printing them with nylon. Printing with PLA went fine and so we thought we had to blame nylon. In fact the issue was probably an error in the .stl cause we first succeeded printing a nylon connector when we used a magic ‘repair’ button we found in the cloud software. We don’t know what this ‘repair’ button exactly does, so we’re not 100% sure, but it worked.
ABS test
I’ve also put Dremel’s Eco ABS to the test. This G-clamp by johan517, which is printable without support, turned out really nice.
- extruder temperature: 437 °F / 225 °C
- bed temperature: 113 °F / 45 °C
- speed: Approx. 60 mm/s
- infill: 60%
- layer height: 200 Microns
- adhesion: Dimafix spray

Dremel 3D45 pros
- Easy and safe to use
- Prints nylon
- Versatile cloud print management software
Dremel 3D45 cons
- No nozzle cleaning mechanism
- Not all Cura features (priming tower) seem to be available
- Not the best touch screen
Conclusion
The 3D45 gave me the best nylon print results I’ve ever had with an FFF/ FDM desktop 3D printer. Considering its price point it’s one of the best choices on the professional side of the market. The hardware is good but the collaboration with 3DPrinterOS is what truly makes this printer the perfect choice for schools, maker spaces and print farms.